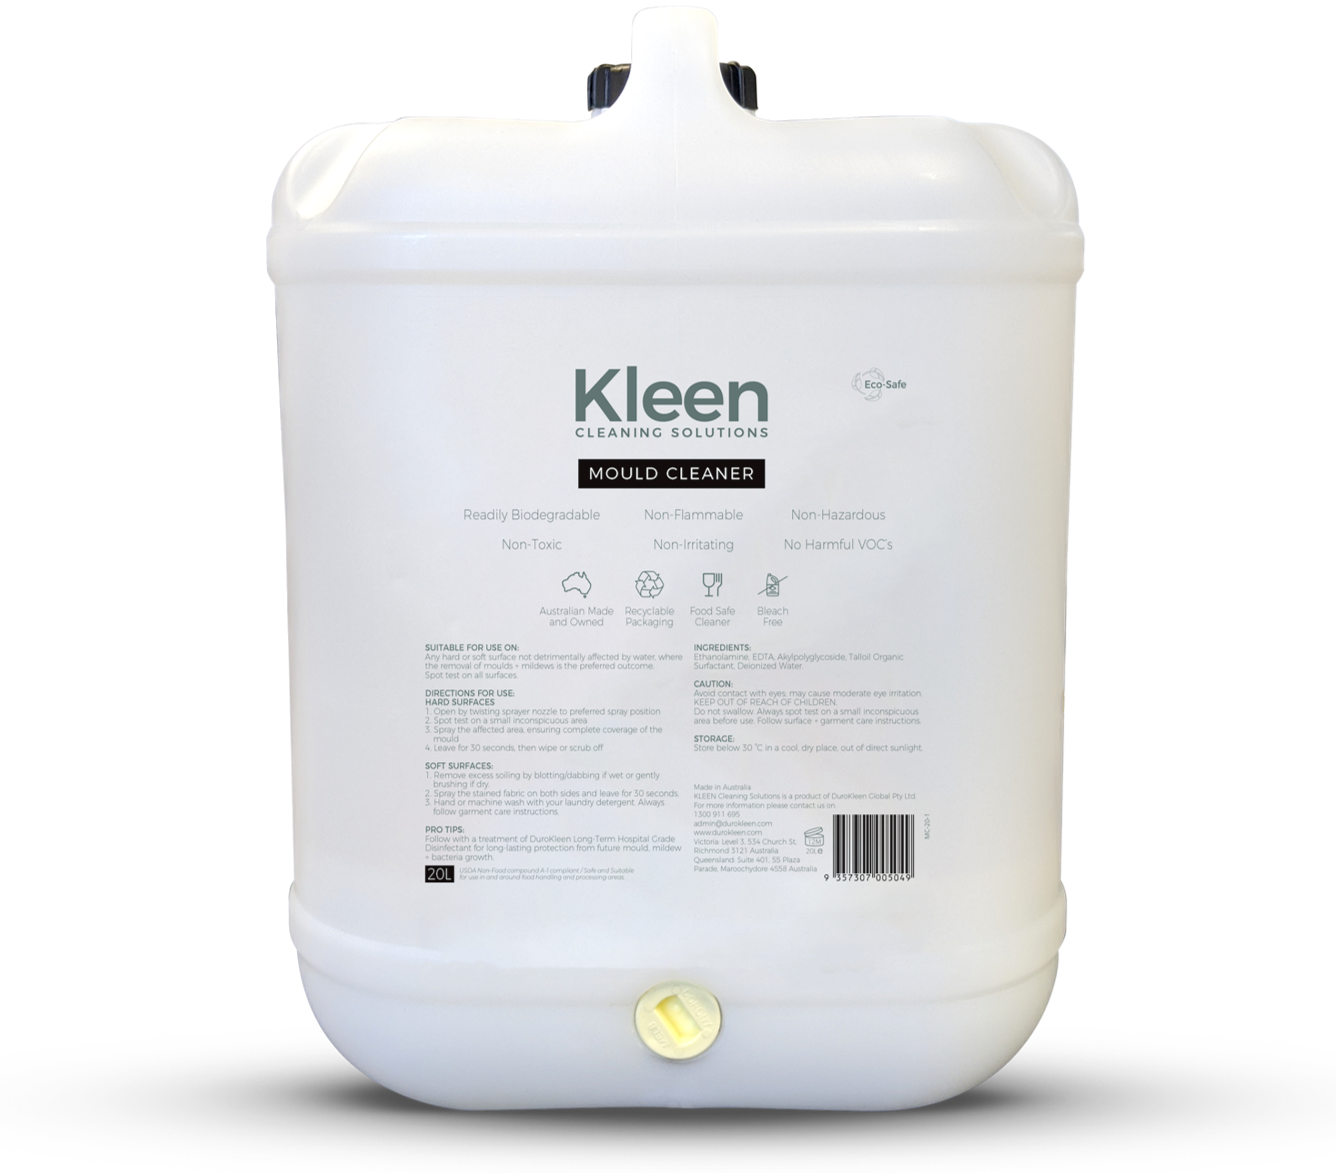
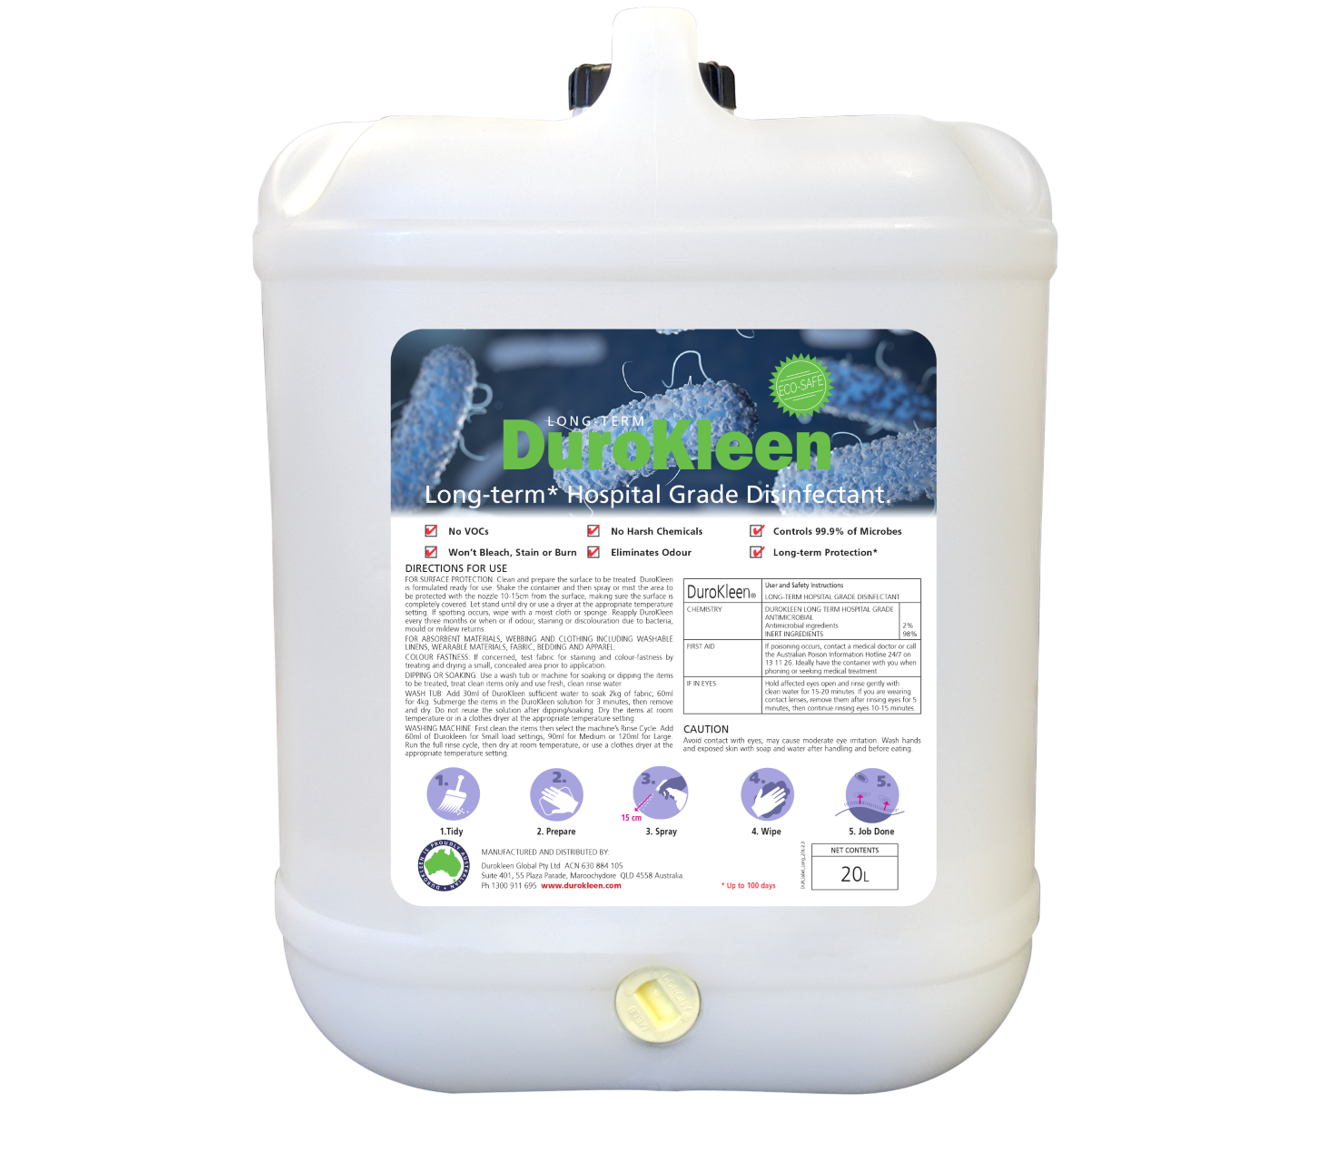
Two products. One method. The way mould is actually dealt with.
Mould is a moisture problem before it is a cleaning problem. Remove it without dealing with what is feeding it and it returns to the same spot, usually within weeks. This pack covers the two steps you control on the surface — remove the mould, then protect the surface — and the guidance below covers the part most people skip: the water and the airflow.
In the pack
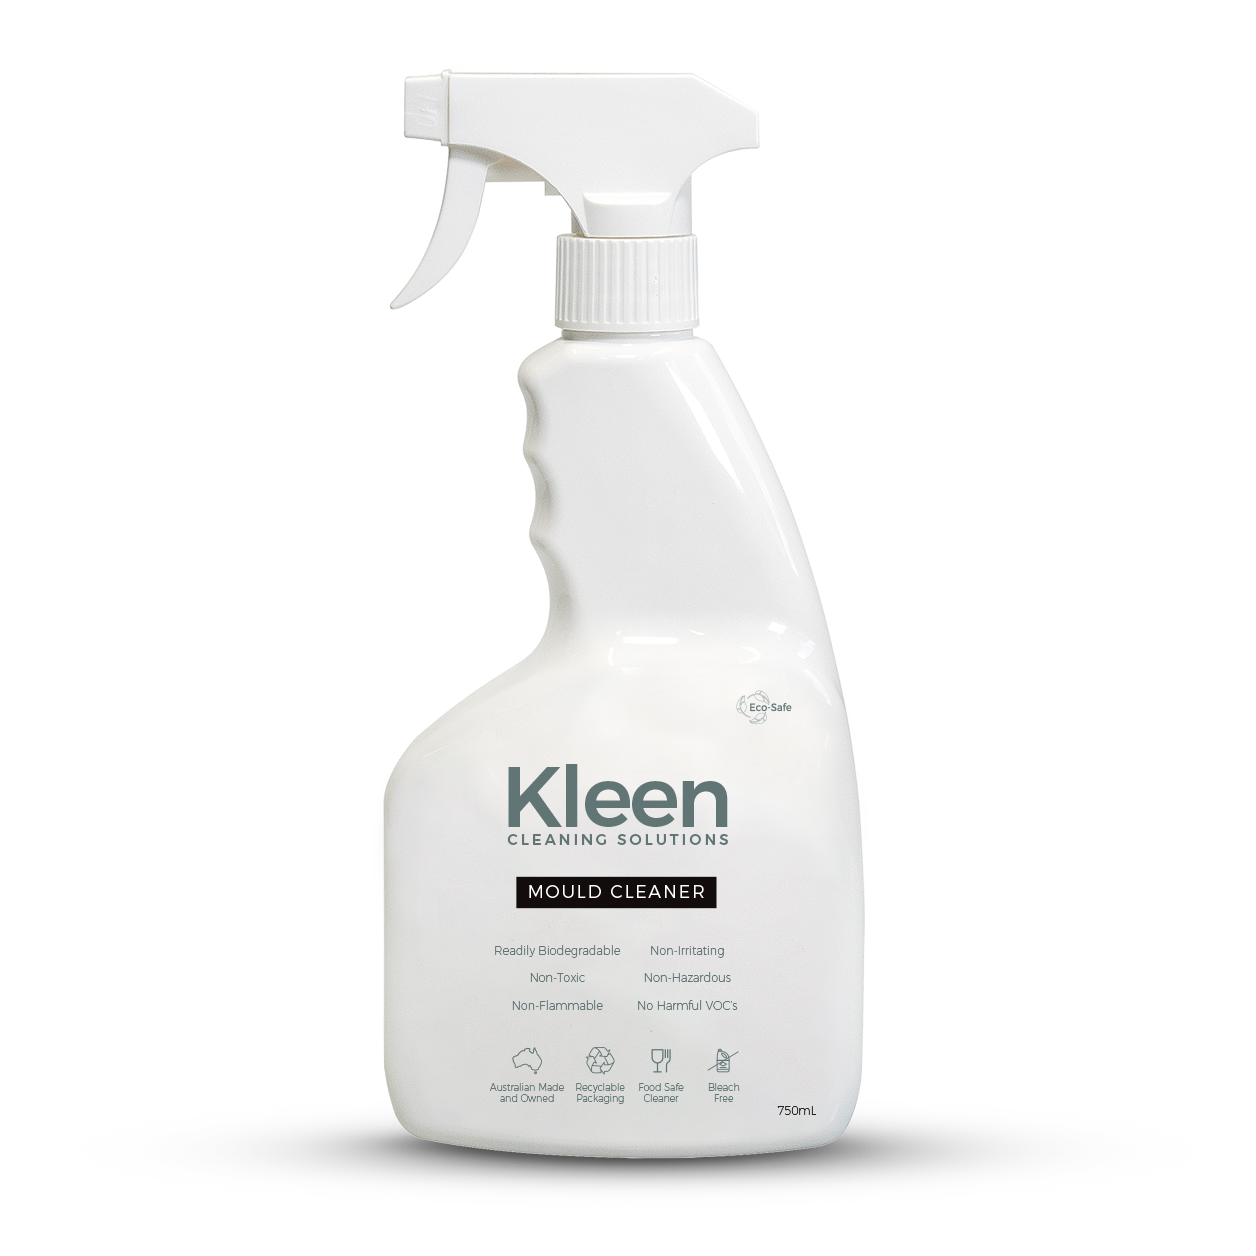
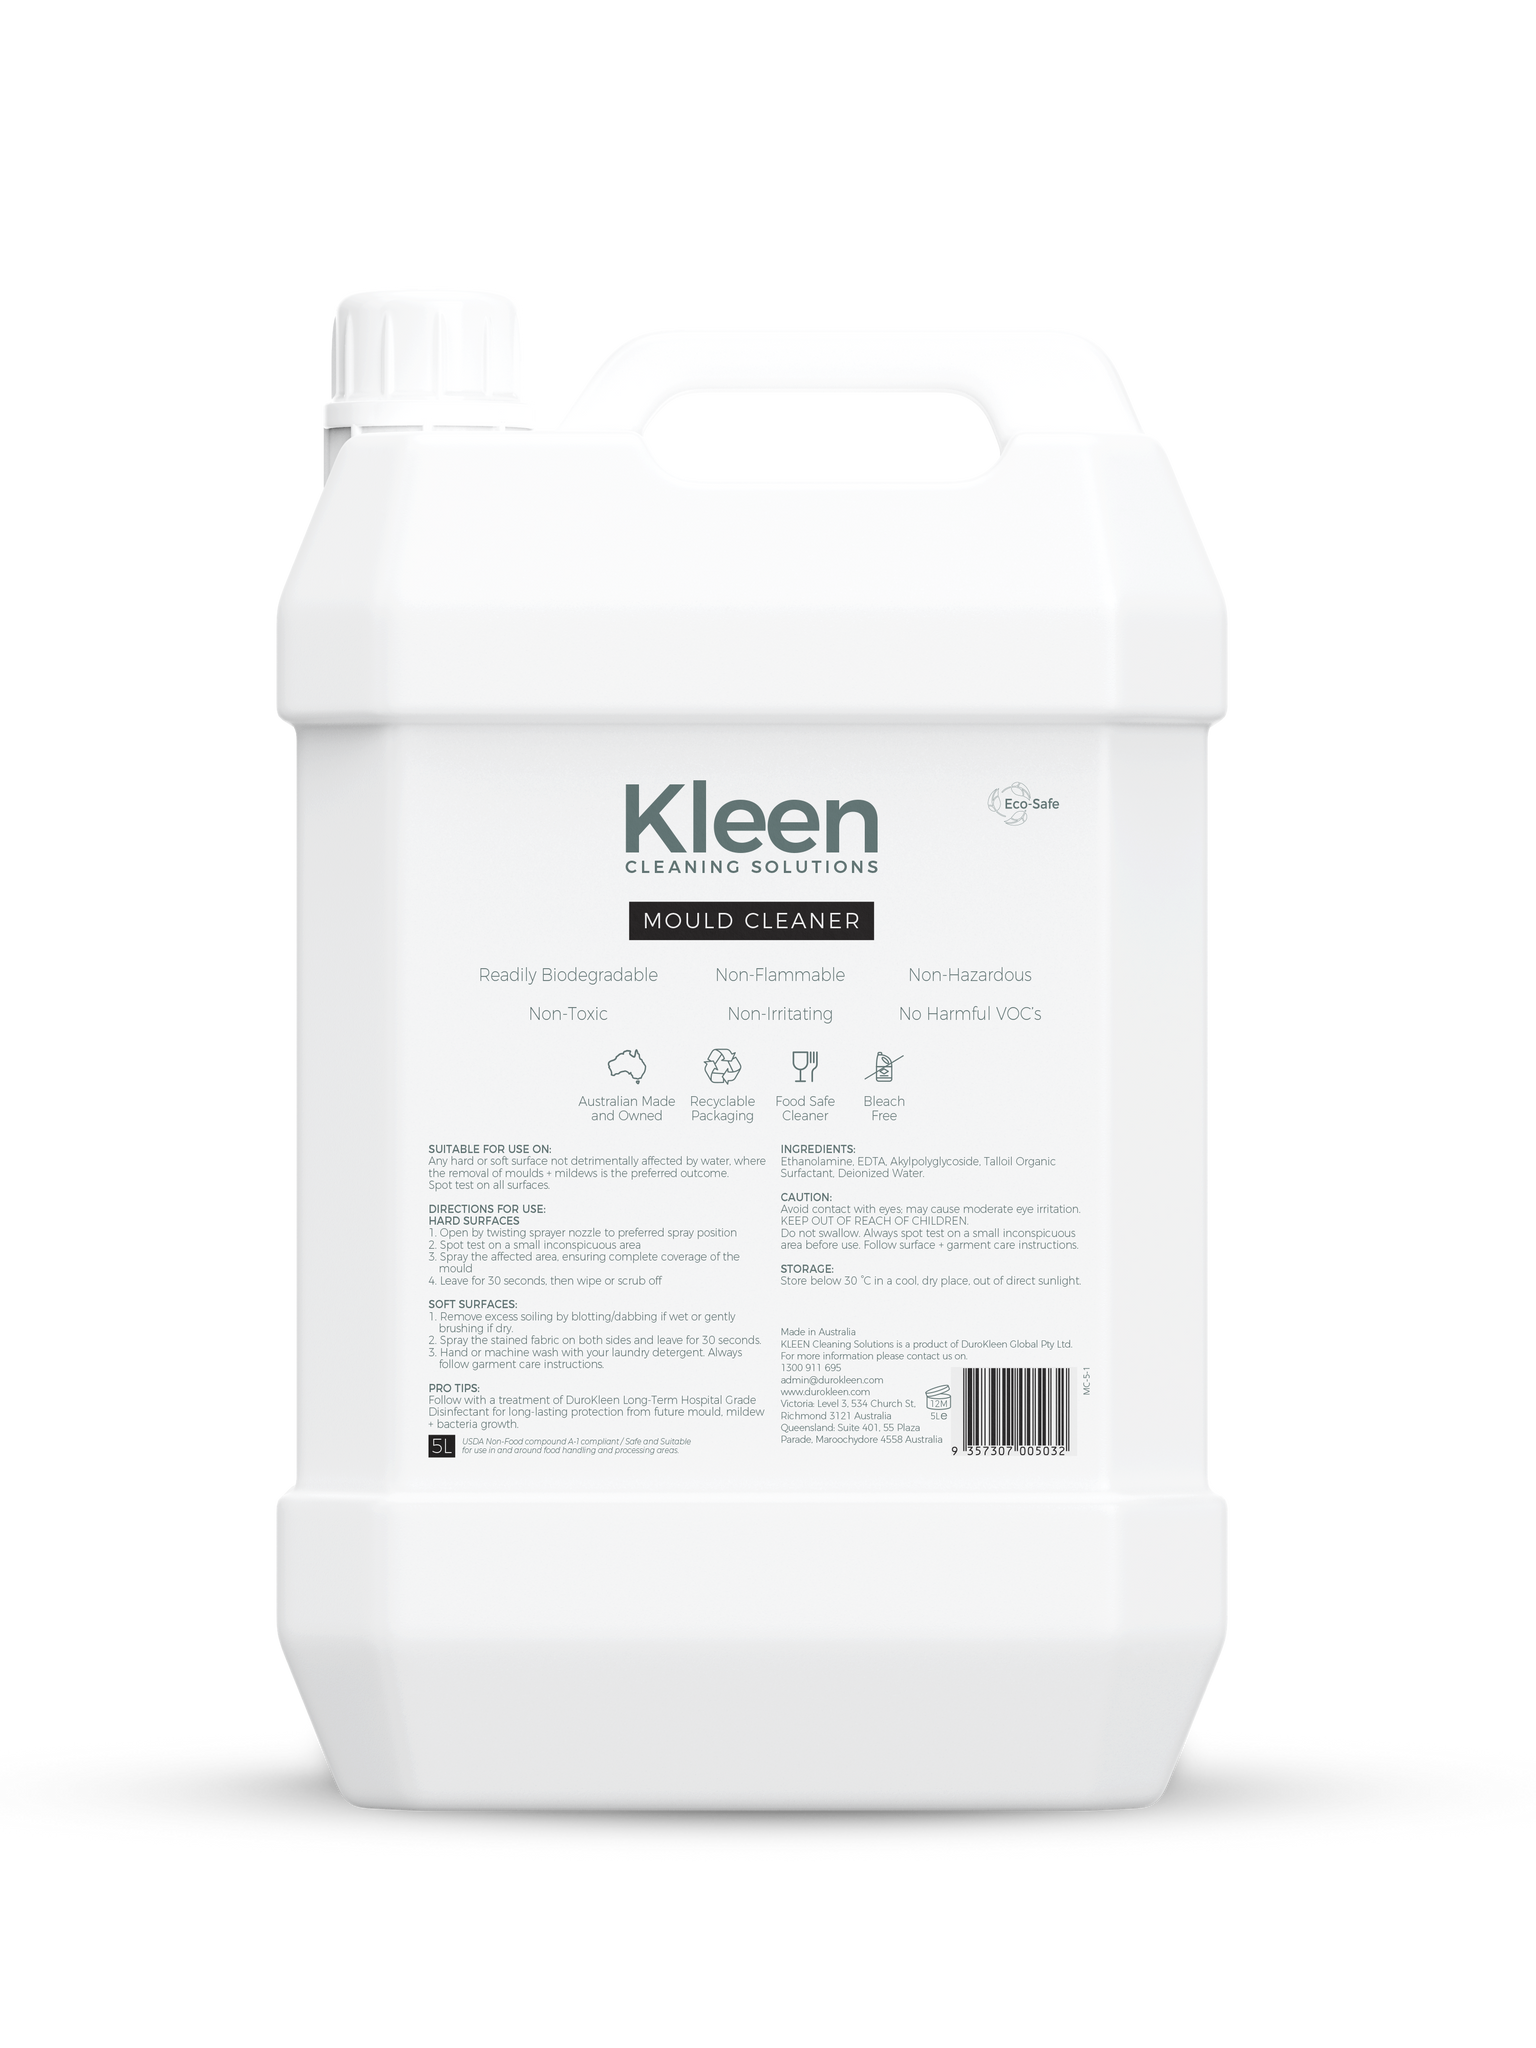
- 1 × Kleen Cleaning Solutions Biodegradable Mould Cleaner — removes the mould.
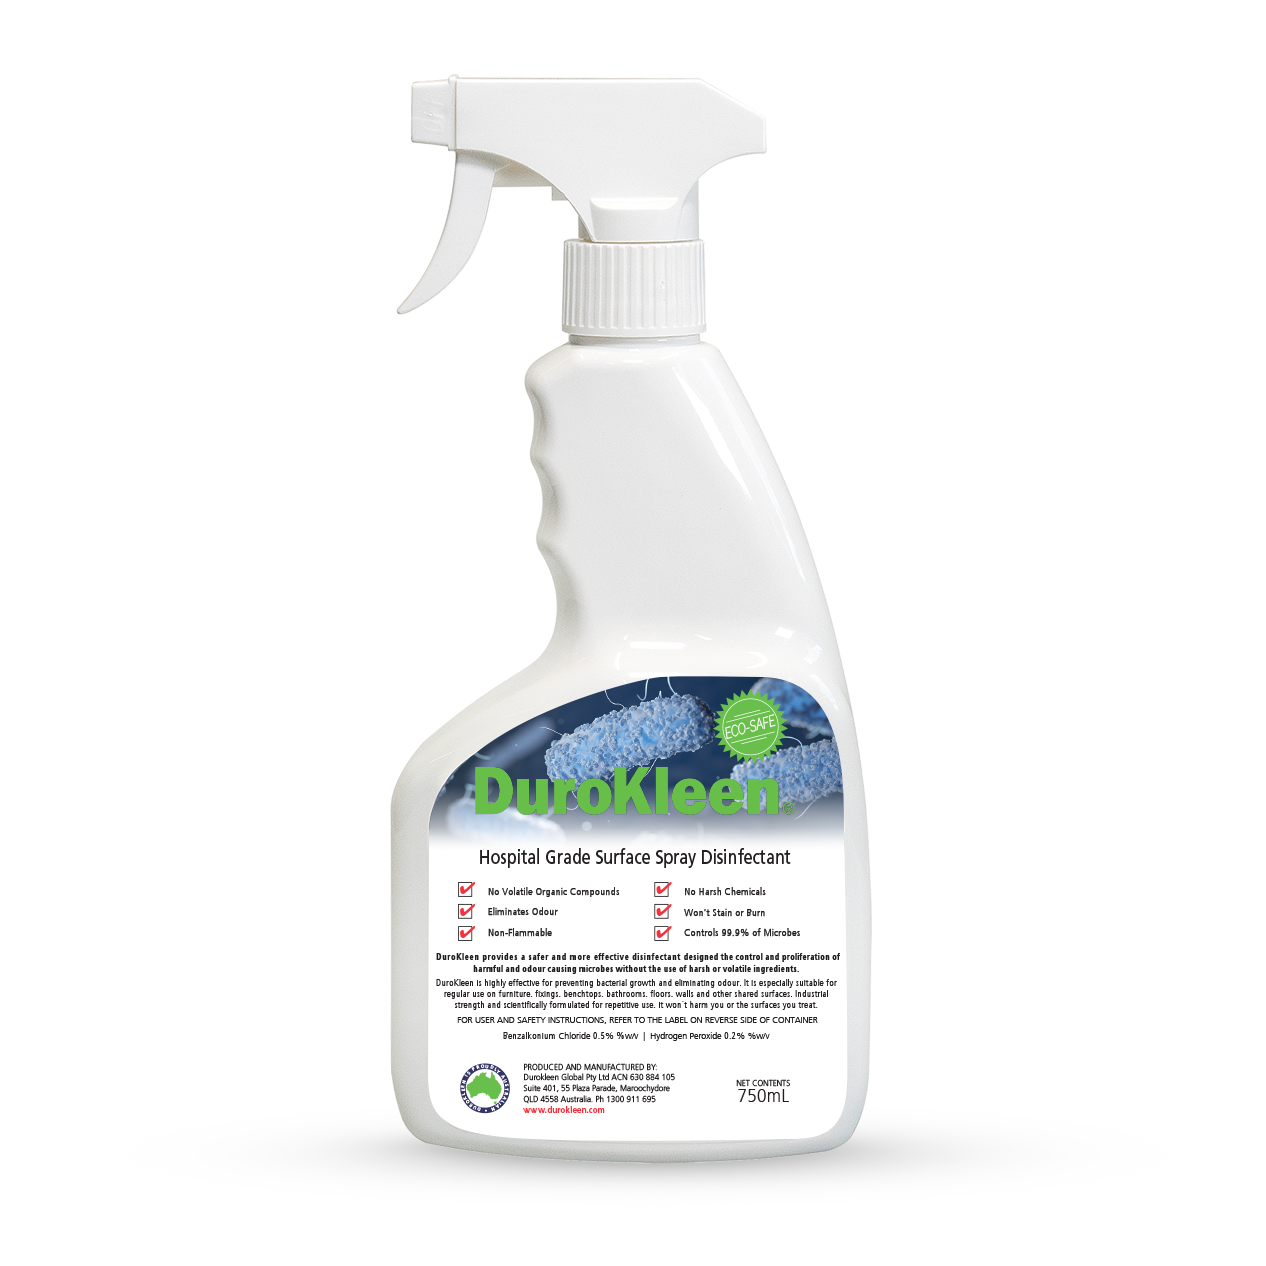
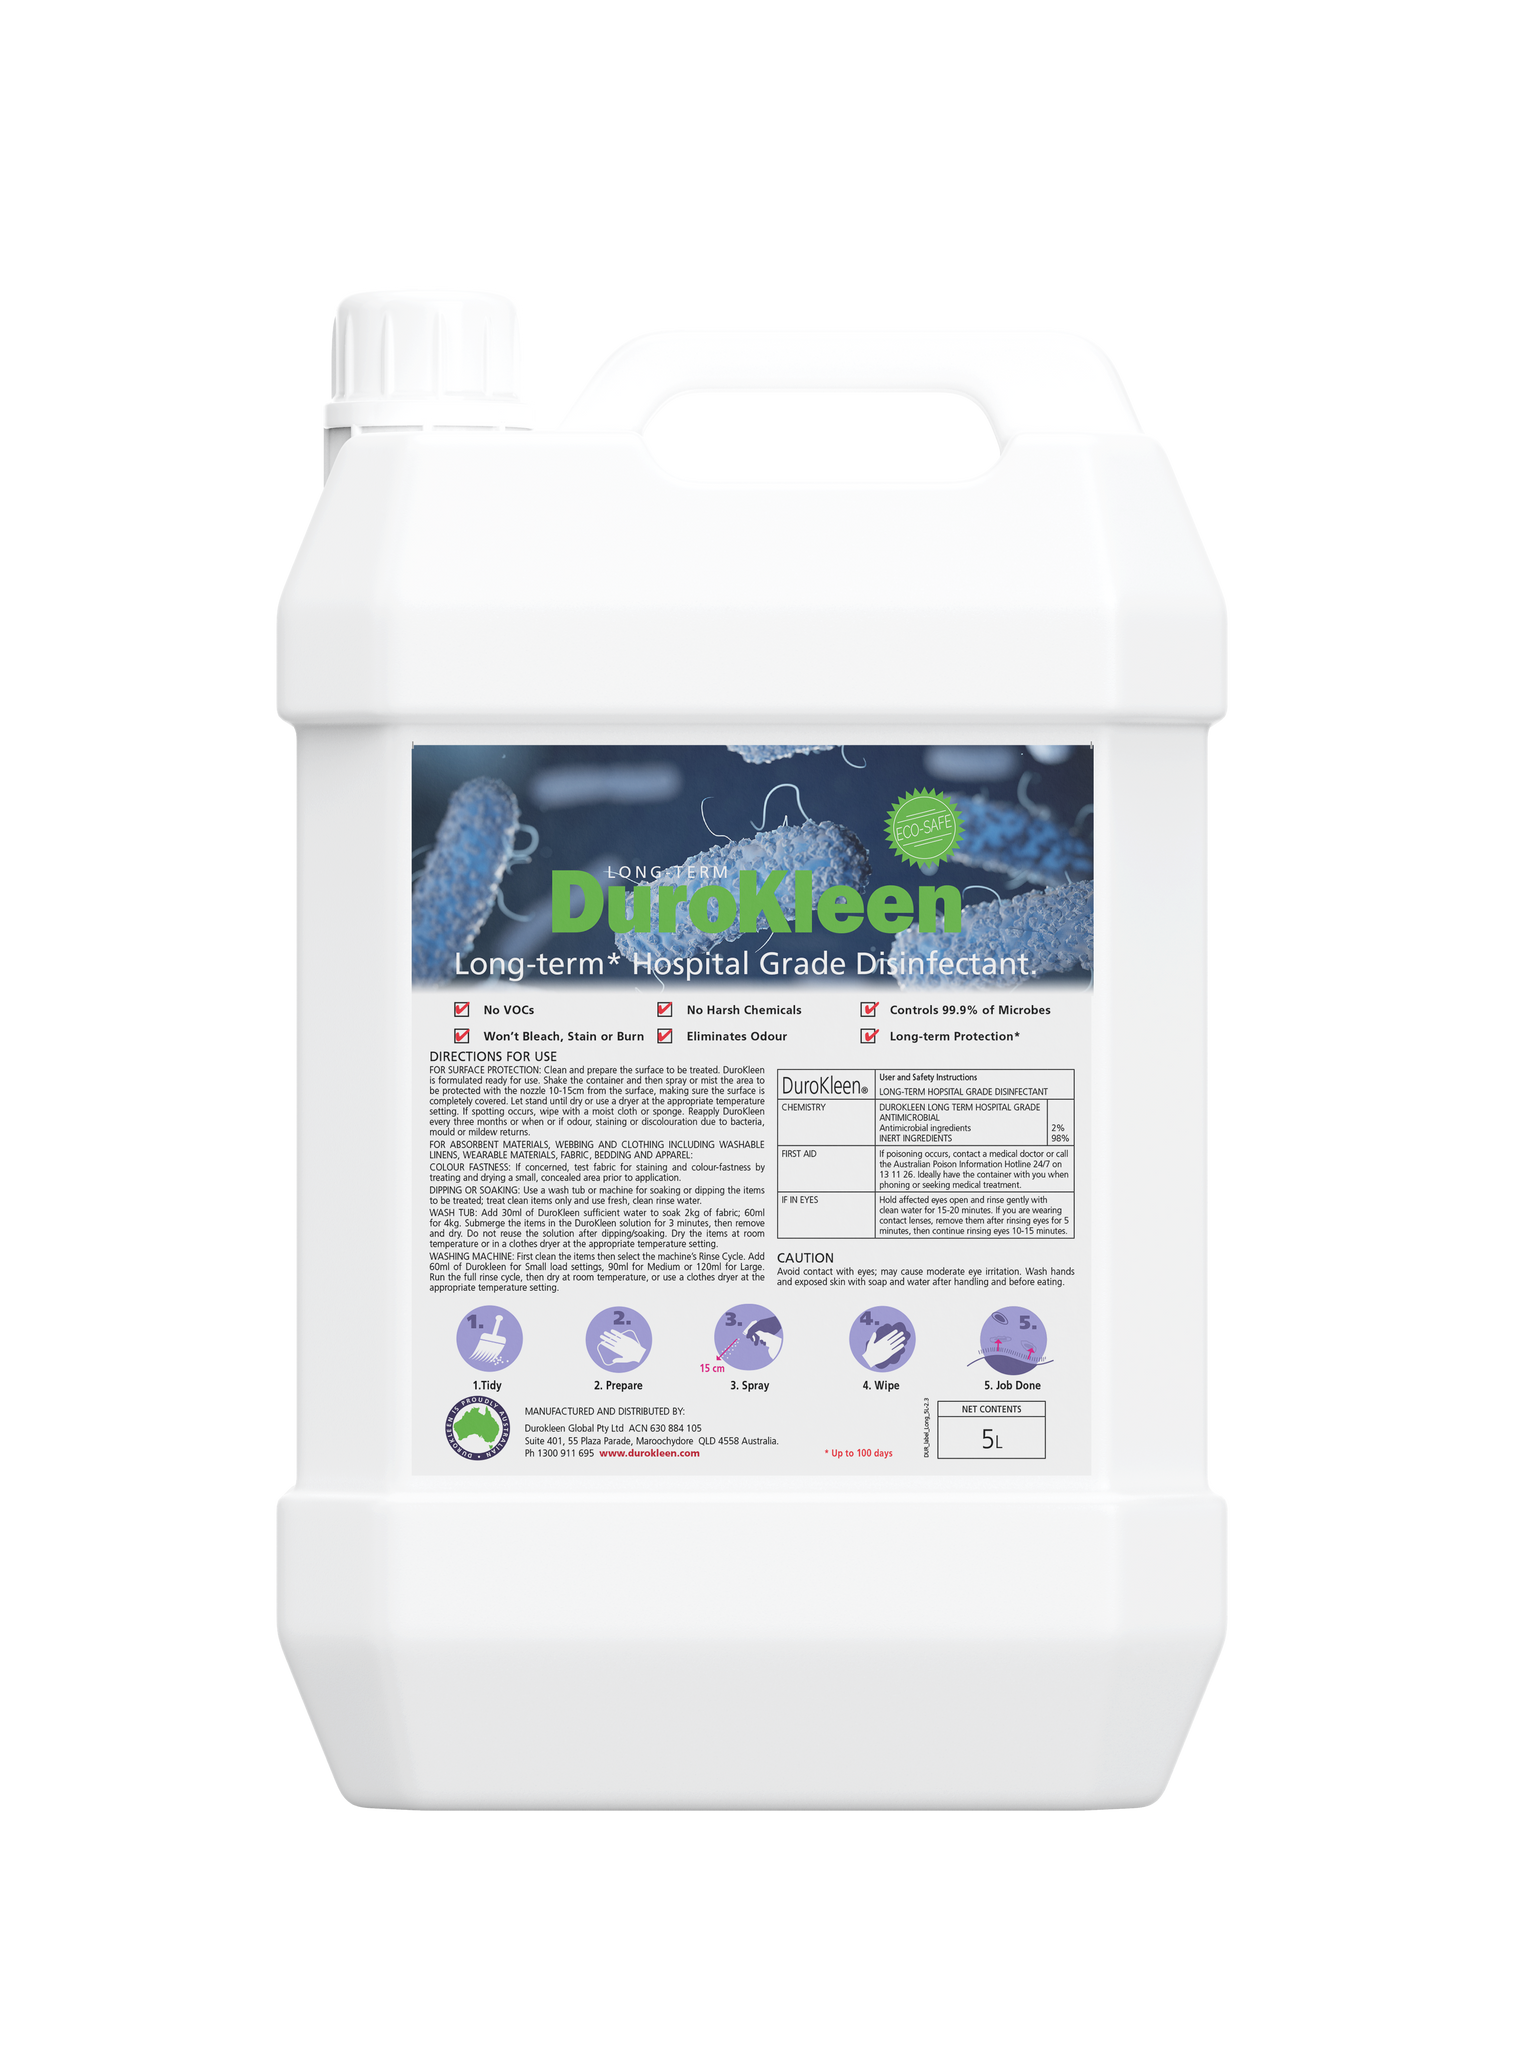
- 1 × DuroKleen Lasting Antimicrobial Surface Treatment — protects the cleaned surface.
Both are supplied ready to use. No dilution, no mixing, no measuring.
The DuroKleen Method
Australia’s mould remediation standard is clear on the order of work: control the moisture and physically remove the growth. Chemistry does not substitute for either. This is the sequence we recommend, and steps 1 and 3 matter as much as anything you spray.
- Find — locate the water. Condensation, a leak, rising damp, a failed seal or a building fault. Nothing else holds until this is answered.
- Remove — lift the mould gently and physically with Kleen Mould Cleaner. No aggressive antimicrobial into an active colony.
- Dry — the surface must be clean and completely dry before anything else is applied. Ventilate and give it time.
- Verify — check your work before you protect it. Surface visibly clean, dry to the touch, no musty smell, no staining left in porous material. On commercial, food and documented jobs, an ATP swab test after the clean step puts a number on it — see below.
- Protect — treat the clean, dry surface with DuroKleen so it is not left bare.
Step 1 — Kleen Mould Cleaner
A dedicated mould, mildew and algae remover. Spray, allow it to dwell, wipe away, and you have a clean surface ready for its DuroKleen treatment.
Kleen lifts mould, mildew, algae and bacteria without triggering the microbes’ defence mechanisms, which helps minimise spore release during cleaning — the practical reason we do not put an aggressive antimicrobial into live growth.
How to use
Spray directly onto the affected area. Allow to dwell for 30 seconds on a standard job, or up to 5 minutes where mould has penetrated the surface. Wipe away and allow to dry.
Suitable uses
Any hard or soft surface not damaged by water, including sealed surfaces, tiles, grout, painted walls and ceilings. Also suitable for fabrics — spray both sides and add the item to your next laundry wash.
Note: Kleen will not remove silicone. Where mould sits behind or within perished silicone, the silicone needs to be cut out and replaced — cleaning over it will not reach the growth.
Step 2 — DuroKleen Lasting Antimicrobial Surface Treatment
Applied to a clean, dry surface, DuroKleen works differently to a conventional disinfectant. It is water based, not alcohol based, non-toxic and non-corrosive, and can be applied to any hard or soft surface not damaged by water.
As it dries it forms an invisible, bonded antimicrobial layer that stays with the treated surface rather than evaporating off it. That layer keeps working where a conventional disinfectant has already gone — it lasts longer than traditional disinfectants. How long depends entirely on how much the surface is touched, cleaned, washed and worn, so we do not put a number on it.

How to use
Apply to a clean, dry surface — never onto active mould, and never onto a damp one. Spray evenly and allow to air dry. Do not rinse off.
For fabrics, add to the rinse cycle: 60 mL small load, 90 mL medium load, 120 mL large load.
Suitable uses
Clean, dry hard surfaces including metals, timber, stone, concrete, plastic and rubber, and soft surfaces not damaged by water.

Verifying the clean — ATP testing
“It looks clean” is not a result you can hand to a client, a landlord, an auditor or an insurer. An ATP swab test after the clean step measures the organic residue left on a surface and returns a reading in seconds, so the surface is verified as cleaned before it is protected — and again afterwards if you want a record of the finished job.
Australia’s mould remediation standard names ATP meters as a tool for the remediator’s own post-remediation evaluation. Read it for what it is: ATP confirms a surface has been cleaned to a measurable standard. It does not identify mould, it does not give a species, and it does not replace independent verification where that is called for.
Where it earns its place:
- Food preparation and handling areas — the verification step an audit expects to see documented.
- Commercial and facilities work — turns a job into a record with a before and after reading against it.
- Rental and strata matters — a dated record that the clean was done and measured, rather than an invoice saying so.
- Any surface you are about to protect — a poor reading means the clean step is not finished, and treating over it wastes the treatment.
When to swab: after the clean and, in food areas, after the potable-water rinse — and always before any treatment is applied. Surface chemistry of any kind can affect an ATP reading, so the swab belongs on a bare, clean, dry surface. If a reading comes back high, re-clean and re-swab before applying DuroKleen. The protect step assumes a clean surface underneath it.
What it is not. ATP is not a mould test. It does not identify mould, it does not give a species or a count, it cannot see into porous material, and it is not a clearance. Where a formal clearance is required, that is a job for an independent hygienist and we will point you to one rather than do it ourselves.
Cleaning verification for commercial and food sites. We are building out ATP cleaning verification for facilities, food handling sites and trade applicators — the swab protocol, the method record and the documentation an audit expects to see. If that is relevant to your site, call 1800 794 737 and we will talk through what it would look like for you.
Moisture and airflow — the part that decides whether it comes back
No product prevents mould on a wet surface. Mould needs moisture, a food source and still air, and the only one of those you can realistically take away is the moisture. Work through this before you treat, not after.
Find the water first
- Condensation — the most common cause in Australian homes. Warm, moist indoor air meeting a cold surface: window reveals, external corners, behind wardrobes on south-facing walls, inside ceiling cornices. Growth in a clean, even film across a cold surface is almost always condensation, not a leak.
- Leaks — roof, gutter, flashing, plumbing, shower waterproofing. Growth concentrated in one patch, often with staining, and worse after rain.
- Rising damp — growth and salt staining in a band low on the wall, worse in winter.
- Trapped moisture — unvented subfloors, roof spaces, wardrobes and cupboards against external walls, and anywhere furniture sits hard against a wall.
Then deal with the airflow
- Run the bathroom exhaust fan during the shower and for 20–30 minutes afterwards. Most of the moisture leaves after the water stops.
- Check the fan actually vents outside. A large number of them discharge into the roof space, which moves the problem rather than solving it.
- Use the rangehood every time you cook, and dry washing outside or in a vented dryer — a single load dried indoors puts litres of water into the air.
- Cross-ventilate daily. Ten minutes of two windows open on opposite sides moves more air than a day of one window ajar.
- Leave a gap behind wardrobes and large furniture on external walls, and leave wardrobe and cupboard doors ajar in wet months.
- Keep indoor humidity in the 40–60% range. A cheap hygrometer tells you more about your mould risk than anything else you can buy.
- Fix the leak, the seal or the ventilation fault. If moisture keeps arriving, cleaning becomes a recurring chore rather than a repair.
Get this right and the treated surface is doing the job it was designed for — holding a line on a surface that is no longer being fed — instead of fighting a water problem it cannot win.
Food preparation areas — a modified process
Both products are HACCP certified, which is what makes them usable in and around food preparation and handling areas at all. But the process in those areas is not the same as the process at home.
Rinsing with potable water after each clean step is essential. Clean with Kleen Mould Cleaner, then rinse the surface down with potable water and allow it to dry fully before anything else happens. That rinse is not optional and it is not a general-purpose recommendation — it is the difference between a compliant clean and a non-compliant one.
The sequence in a food area:
- Remove or cover food, packaging and utensils, and isolate the area.
- Clean with Kleen Mould Cleaner — 30 seconds dwell standard, up to 5 minutes where mould has penetrated.
- Rinse thoroughly with potable water.
- Allow the surface to dry completely.
- ATP swab to verify the clean before you protect it.
- Apply DuroKleen to the clean, dry surface and allow to air dry.
Follow your own site’s food safety programme and cleaning schedule — this sits inside it, it does not replace it. If you need the documentation for a HACCP file, call us.
Where you can use it
Home, business, industrial and transport settings. Bathrooms, laundries, kitchens, bedrooms, wardrobes, ceilings and cornices, window reveals, tiles and grout, painted surfaces, rendered and concrete walls, timber, decking, outdoor furniture, boats, caravans, vehicle interiors, cool rooms and storerooms.
Both products are HACCP certified and made to GMP standards. Neither will burn, bleach or corrode. Both are Australian made and owned.

Choosing a size
- 750 mL + 750 mL — a bathroom, a bedroom, a caravan or a one-off problem area. Trigger sprays, ready to go.
- 5 L + 5 L — a whole house, a repeat seasonal treatment, or a small commercial site. Refills your trigger bottles.
- 20 L + 20 L — trade, facilities and commercial volume, and the format for spray application.
Before you start
- Always spot test in an inconspicuous area before using any new product on a surface.
- DuroKleen goes on a clean, dry surface only — never sprayed onto active mould.
- Ventilate the area while you work.
- In and around food preparation areas, rinse with potable water after the clean step — see the modified process above.
- Where mould covers a large area, has come from sewage or floodwater, or sits inside the building fabric rather than on it, get a professional assessment before cleaning.
- Always follow the manufacturer’s directions on the label.
Questions about a particular job? Call 1800 794 737.
